GA4アカウント作成手順
1.下記GA4のサイトにアクセスします。
GA4ウェブサイト:https://marketingplatform.google.com/about/analytics/
2.「さっそく始める」をクリックします。
![](https://shi-so.com/wp-content/uploads/2023/10/①-1024x507.png)
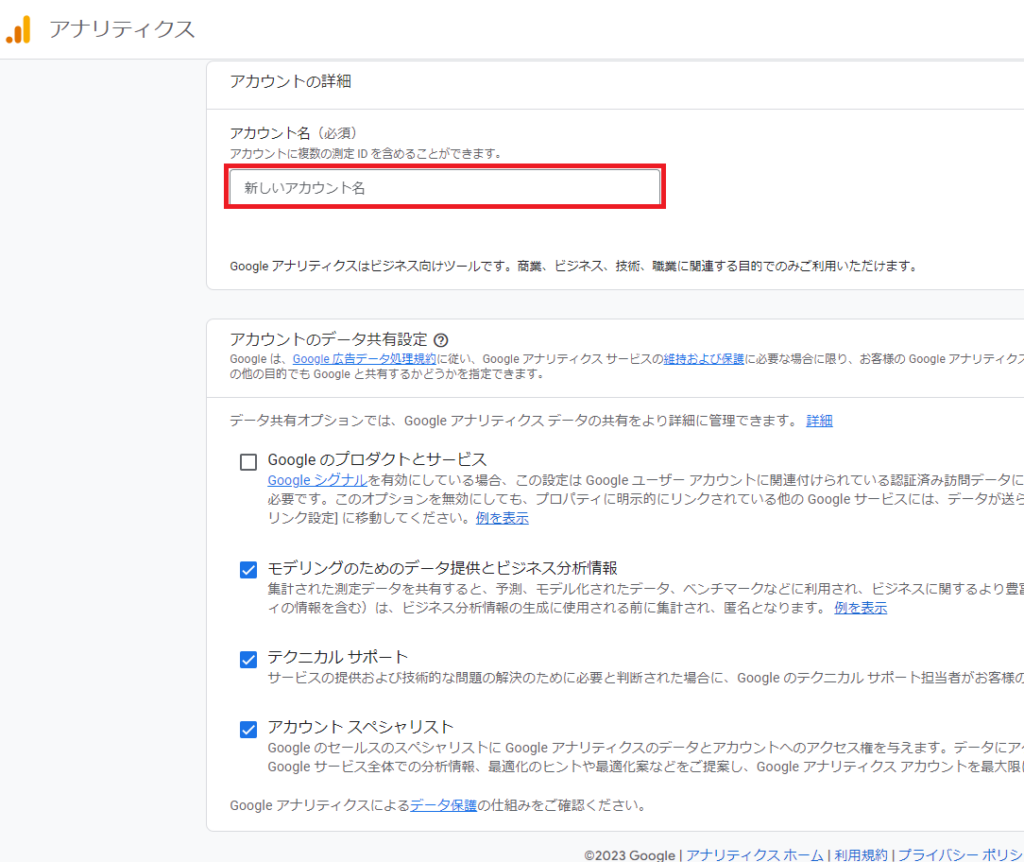
3.「アカウント名」の項目に希望のアカウント名を入力します。
![](https://shi-so.com/wp-content/uploads/2023/10/②-1024x862.png)
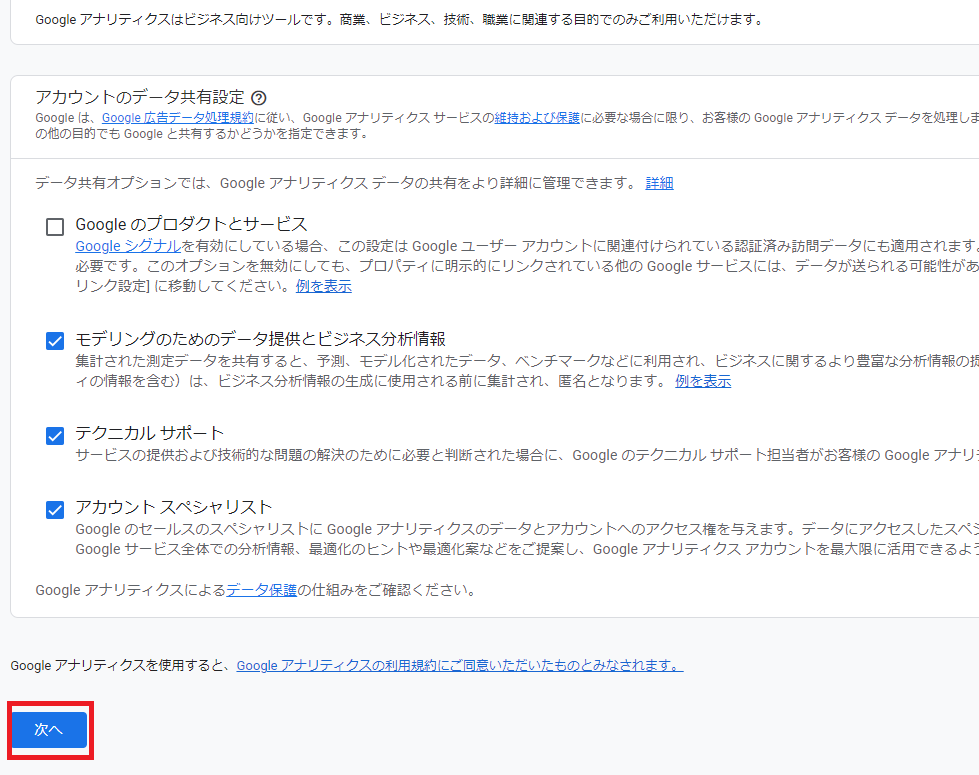
4.下部にある「次へ」をクリックします。
![](https://shi-so.com/wp-content/uploads/2023/10/訂正①.png)
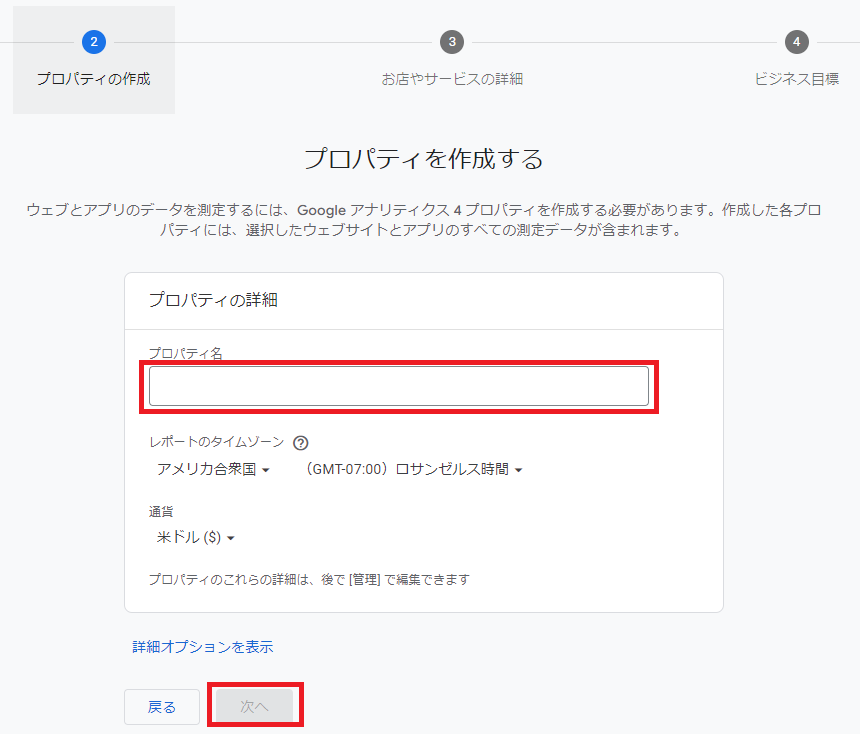
5.「プロパティ名」を入力し、「次へ」をクリックします。
![](https://shi-so.com/wp-content/uploads/2023/10/③.png)
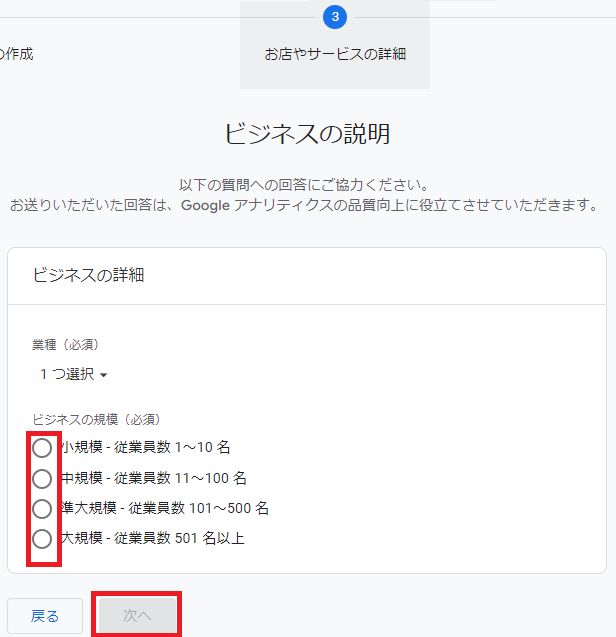
6.「ビジネスの規模」で該当する項目を選択し、「次へ」をクリックします。
![](https://shi-so.com/wp-content/uploads/2023/10/④.png)
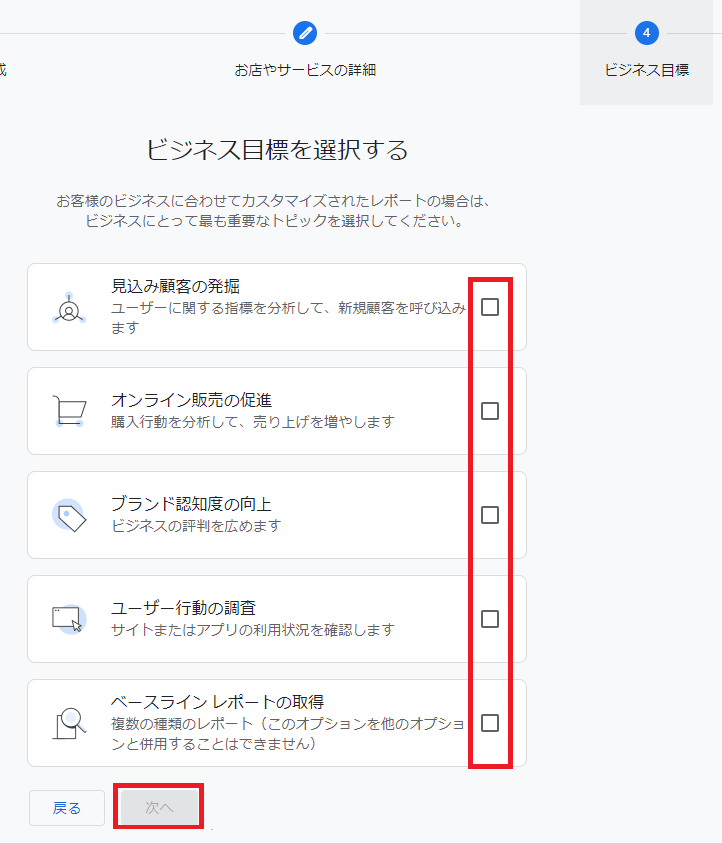
7.「ビジネスの目標」で該当する項目を選択し、「次へ」をクリックします。
![](https://shi-so.com/wp-content/uploads/2023/10/⑤.png)
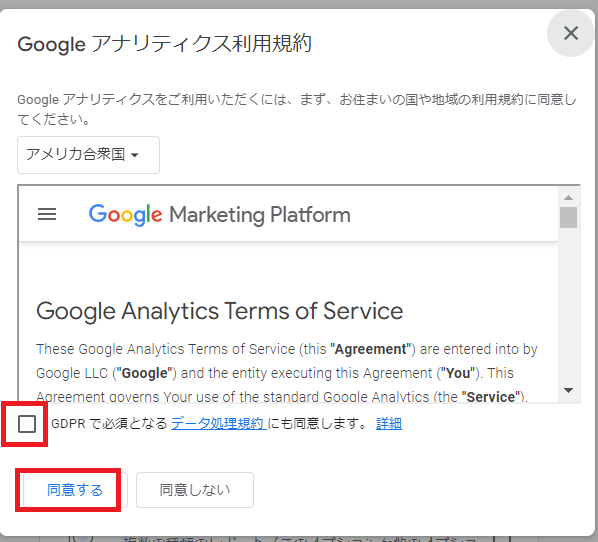
8.「GDPRで必須となるデータ処理規約に同意します」の項目にチェックを入れ、「同意する」をクリックします。
![](https://shi-so.com/wp-content/uploads/2023/10/⑥.png)
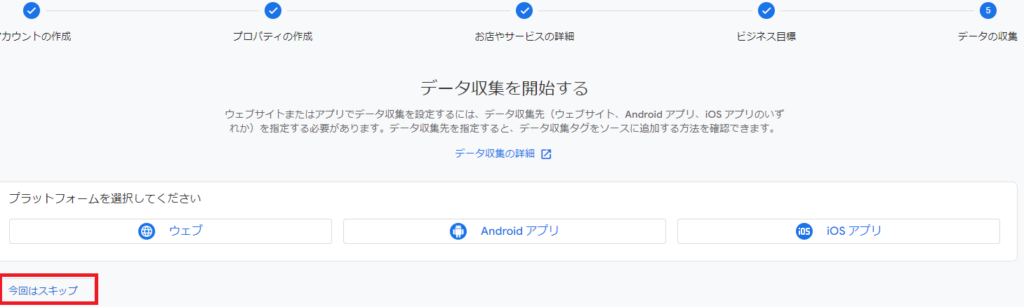
9.「今回はスキップ」をクリックします。
![](https://shi-so.com/wp-content/uploads/2023/10/⑧-1024x307.png)
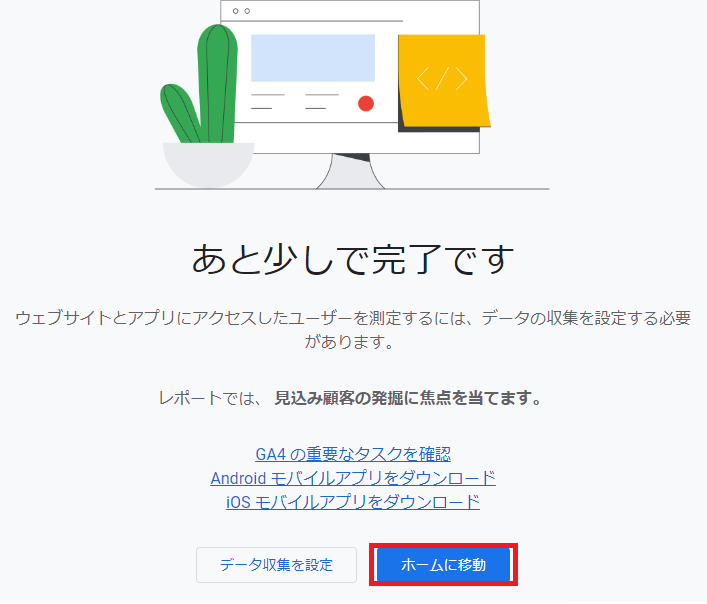
10.「ホームに移動」をクリックします。
![](https://shi-so.com/wp-content/uploads/2023/10/⑨.png)
11.GA4ホーム画面「データストリーム」をクリックします。
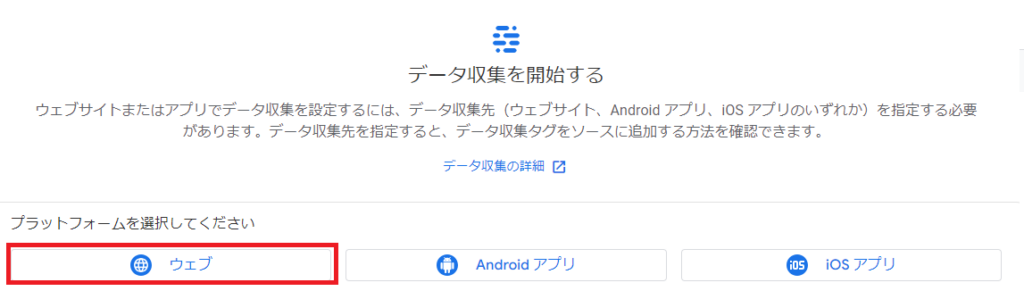
![](https://shi-so.com/wp-content/uploads/2023/10/⑫.png)
12.「ウェブ」をクリックします。
![](https://shi-so.com/wp-content/uploads/2023/10/⑬-1024x291.png)
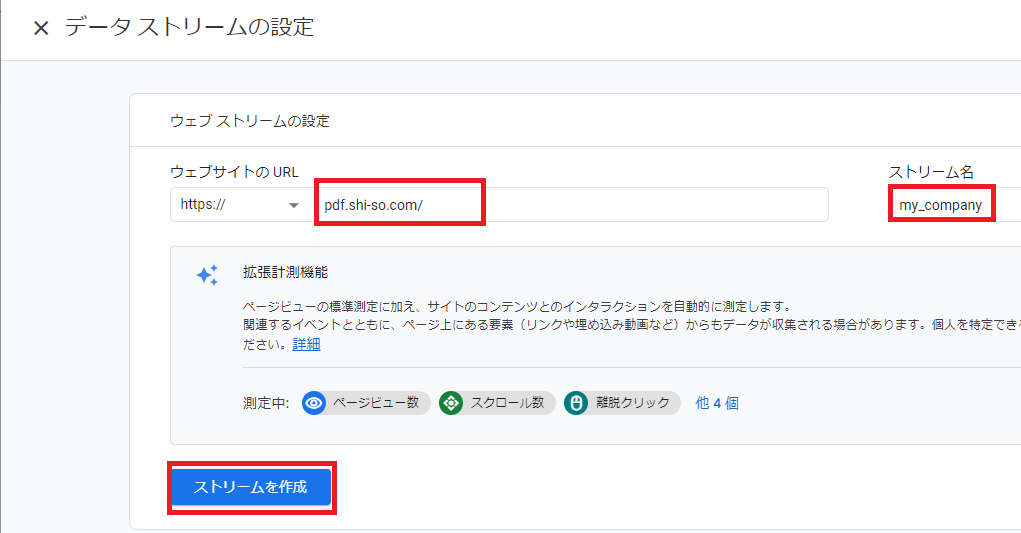
13.「ウェブサイトのURL」と「ストリーム名」の項目を入力し、「ストリームを作成」をクリックします。
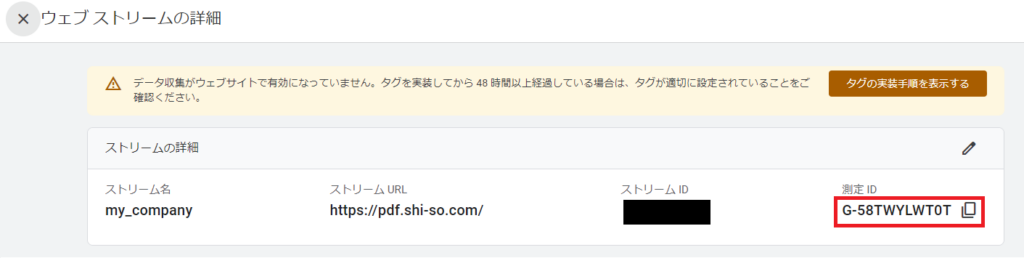
![](https://shi-so.com/wp-content/uploads/2023/10/⑮.png)
14.「測定ID」のIDをコピーします。
以降の設定方法は「SHI-SOのGA4設定をする」のページをご参照ください。
![](https://shi-so.com/wp-content/uploads/2023/10/⑯-1024x258.png)
※画像は2023/10/20時点のものです。